

How to Clean Your Refrigerator
Fall is upon us! It’s so easy (and fun) to get busy decorating for the upcoming season. Before you get too carried away with pumpkins, why not give that workhorse in your kitchen some TLC? That’s right, we’re talking about your refrigerator. After the lazy summer days of cookouts and fresh watermelon, it’s quite likely your refrigerator may have taken on a life of its own.
While you can always add our Refrigerator Rescue service to any regularly scheduled cleaning, we know that many of you may prefer to get in there yourself. Here are three easy steps for making your refrigerator sparkle once again.
1. Clean House
First, it sounds obvious, but throw away those unidentified leftovers, science projects and any expired food or condiments. We recommend doing this the day before trash day so you don’t have stinky leftovers in your outside cans for too long. If you have an item with an expiration date in the near future, then get to meal planning to use those up before D-day.
Hero tip: if you need meal planning inspiration, hop on over to our Pinterest page for some easy recipes.
2. Get Your Plan and Supplies Ready
You know what they say, “An hour of planning can save you hours of doing.” Here’s how to get started on actually cleaning that fridge:
Plan out the day and time you are going to commit to this cleaning task. Depending on how large your refrigerator is and how much food is in it, you may need anywhere from 30 minutes to an hour and a half. And trust us, once you get going on bringing that sparkle and shine back to the fridge, you won’t want to stop. Why not listen to some fun music to get you in the mood? Check out our “Freshen Up with Home Clean Heroes” playlist on Spotify:
Gather all your supplies, this includes:
- Trashcan (for throwing out those expired items)
- Baking soda
- Large bowl with warm/hot water
- Cloths or paper towels (Hero tip: we recommend one set for cleaning, and a few clean microfiber cloths for drying)
- Clear out space on your island or counters (to briefly store your fridge items while cleaning each section)
- You may want rubber gloves, although not necessary
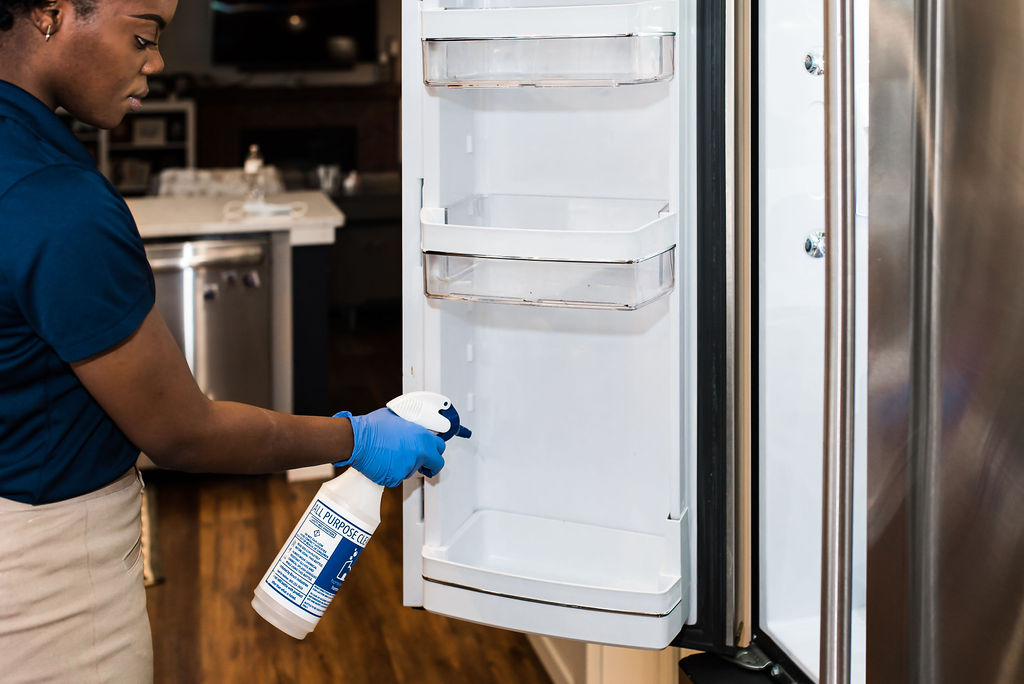
3. Start Cleaning the Fridge
We know this might seem like the most daunting step, but you’re ready! In order to get started, you’ll need to prepare your cleaning mixture. Mix together 2 tablespoons baking soda with 1 quart of very warm to hot water. Starting at the top shelf:
- Remove food items on the shelf and place nearby.
- Remove the shelf (if you are able to) and wash it using the mixture and rinse with clean water.
- Wipe the shelf with a clean, dry microfiber cloth.
- Before replacing the shelf, use another cloth, dipped in the baking soda and water mixture, to wipe the wall around the shelf and dry using your trusty microfiber cloth.
- Replace the shelf and then arrange the food.
- Repeat with each shelf and drawer in the refrigerator until complete.
- You may need to make a new mixture halfway through depending on how dirty the bowl becomes.
 Hero tip: some people may opt to remove all the food at once and then rearrange the items when putting them back in. If that’s what you prefer, simply put all your food items in a cooler with some ice to keep them cool while you are cleaning!
If you want to take it a step further and shine the outside of your refrigerator (or any of your stainless steel appliances for that matter) simply apply a touch of baby oil on a clean, microfiber cloth to buff out any fingerprints or streaks.
Once you’ve followed all these steps, take a step back and enjoy your new-found clean refrigerator! Voila, you did it.
If you’ve decided that deep cleaning your appliances is not your cup of tea, Home Clean Heroes can save the day! Simply add the Refrigerator Rescue or Operation Clean Oven to any upcoming service. To schedule today, call us at 844-HEY-HERO.